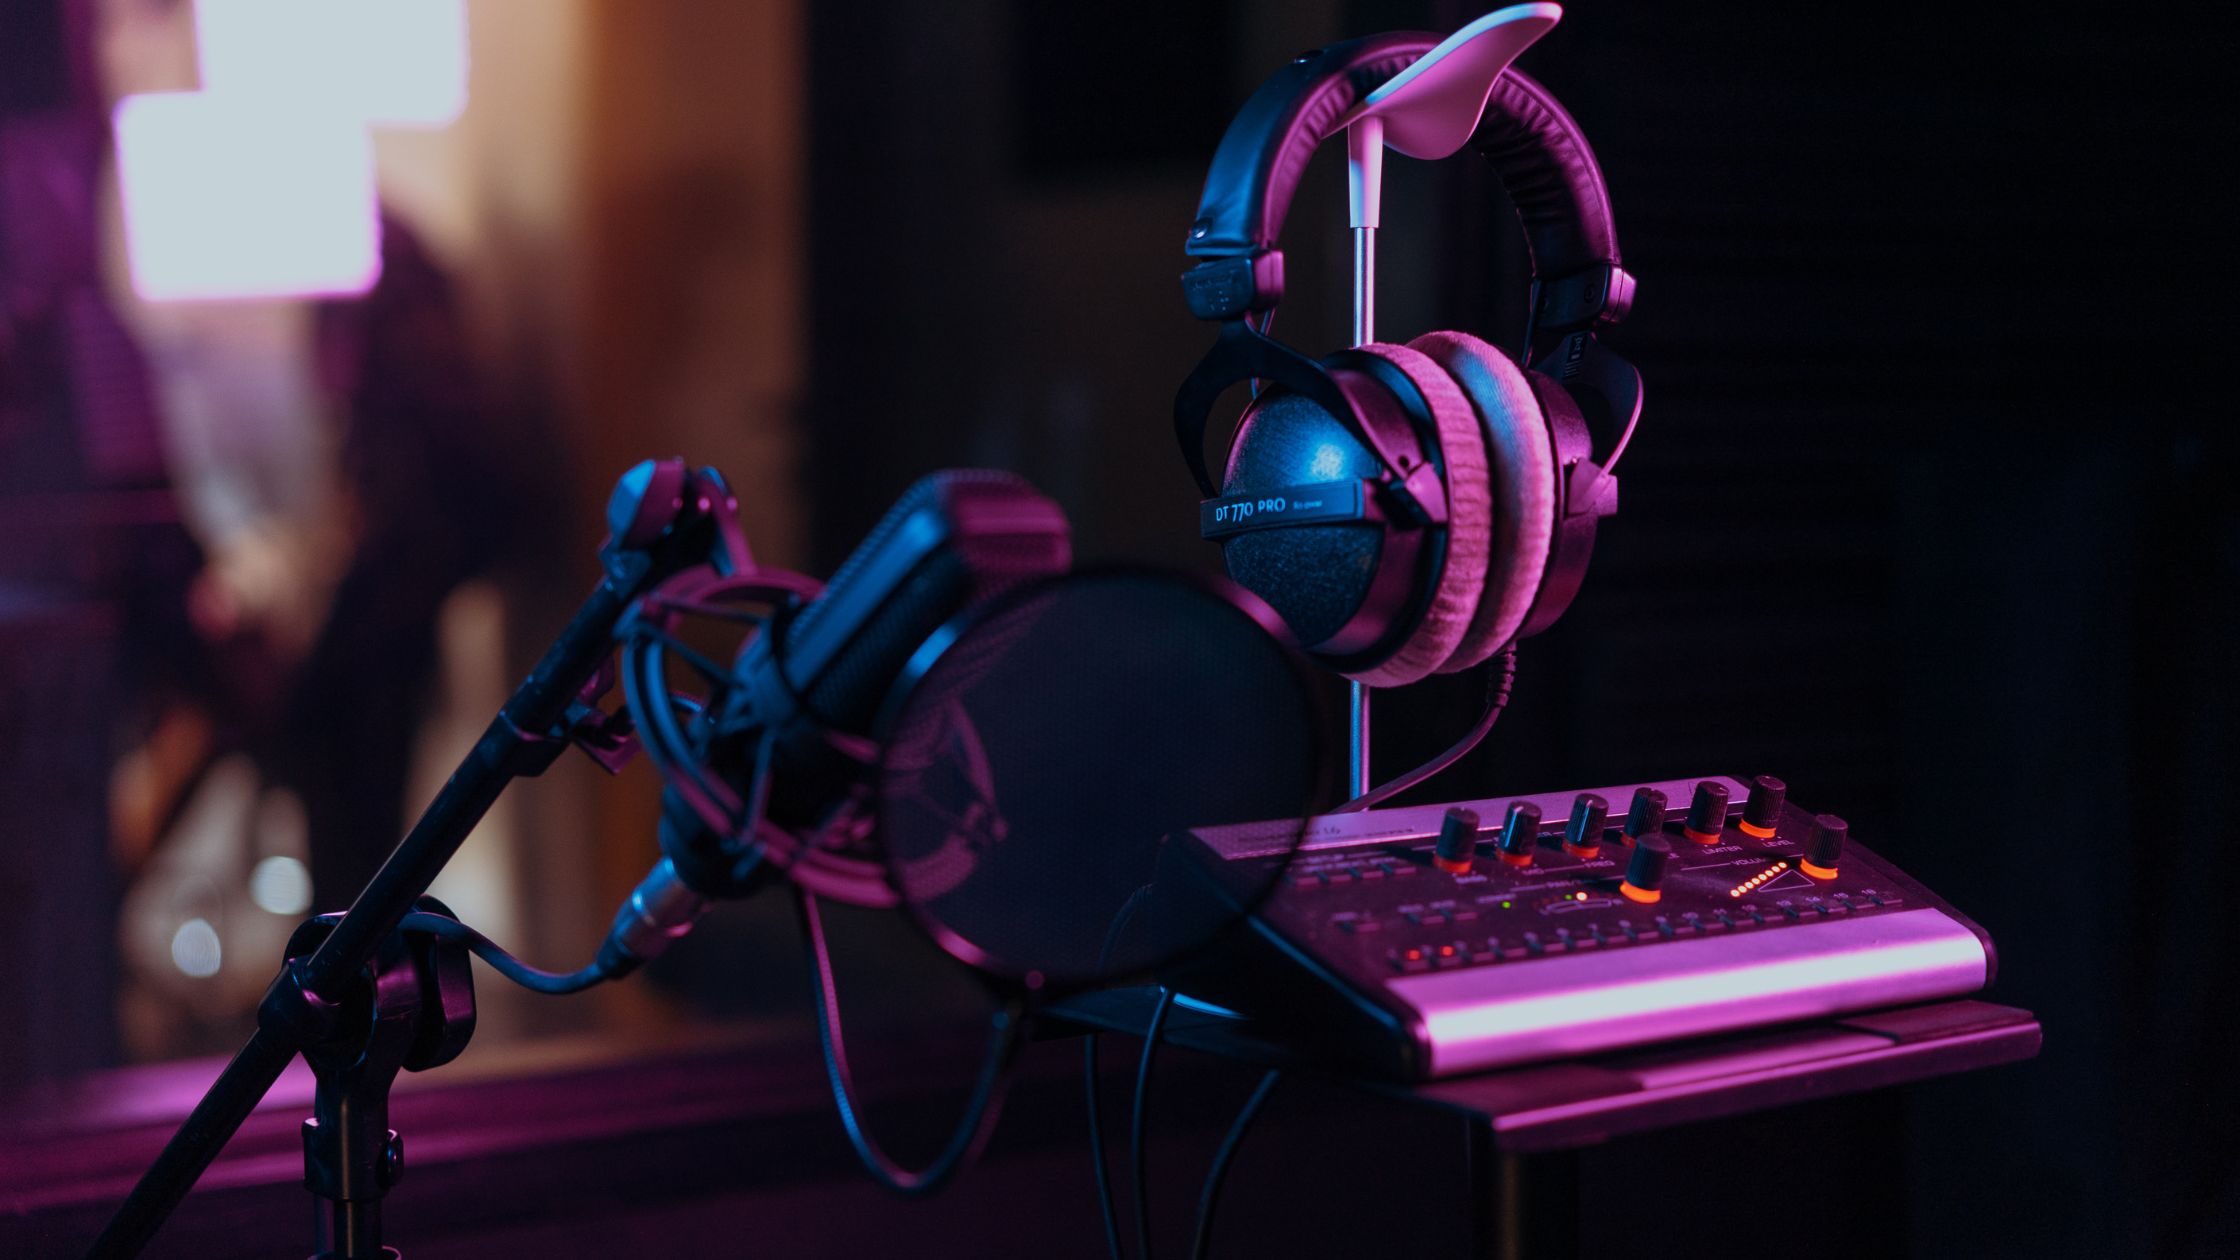
Starting a podcast is an exciting journey, filled with the thrill of sharing your voice and ideas with the world. But before you hit record, there’s one major hurdle to clear: choosing the right equipment. If you’re a host, producer, or someone eager to launch your own show, getting a handle on the right tools is key to making your podcast sound great.
By the time you finish this guide, you’ll know exactly what gear you need and how to pick the best options for your setup.
So, why is it so important to choose the right podcast equipment? Let’s break it down.
Why Choosing the Right Podcast Equipment Is Important
When it comes to podcasting, your equipment can make or break the quality of your show. The sound quality is one of the first things listeners notice, and if it’s poor, they might not stick around for long. Investing in the right gear can significantly enhance the listener experience, making your podcast sound professional and engaging.
You might wonder, “Can’t I just use my smartphone or laptop mic?” While it’s possible to start with minimal equipment, the difference in audio quality is often noticeable. High-quality microphones, headphones, and audio interfaces can reduce background noise, capture your voice clearly, and create a more immersive listening experience.
By choosing the right equipment from the get-go, you’ll save time and money in the long run, avoiding frequent upgrades and replacements. Let’s now look at the common mistakes to avoid when setting up your podcast studio.
The 5 Biggest Mistakes Podcast Creators Make When Choosing Equipment
Even seasoned podcasters can make mistakes when selecting equipment. Here are five of the most common pitfalls and how to avoid them:
- Skimping on Microphones: Not all microphones are created equal. Using a low-quality mic can result in poor audio, making your podcast hard to listen to. Invest in a good-quality microphone that suits your voice and recording environment.
- Ignoring Room Acoustics: A great microphone can’t do its job if you’re recording in a noisy or echo-prone room. Consider your recording environment and make adjustments, such as adding soundproofing or choosing a quiet space.
- Overcomplicating Your Setup: It’s easy to get overwhelmed with gear. Many beginners think they need multiple microphones, mixers, and other gadgets. Start with the basics and upgrade as needed.
- Neglecting Headphones: Good headphones are essential for monitoring audio quality and catching any issues during recording. Avoid using standard earbuds or low-quality headphones that don’t accurately represent your audio.
- Forgetting About Portability: If you plan to record on the go or in different locations, portability is key. Heavy, bulky equipment can be a hassle to transport, so consider lightweight, easy-to-pack options.
Now that you know what not to do, let’s look at the essential steps to set up your podcast equipment.
How to Set Up Your Podcast Equipment
Setting up your podcast equipment doesn’t have to be daunting. Here are the steps to get you started:
Step 1: Choose the Right Microphone
Find a microphone that captures clear, crisp audio suited to your voice.
A good microphone ensures that your voice sounds professional and engaging, helping to retain listeners.
Start with a dynamic or condenser microphone, depending on your budget and environment. A dynamic microphone is less sensitive and ideal for noisy environments, while a condenser microphone captures a broader range of frequencies, making it perfect for quiet, controlled settings.
The Shure SM7B is a popular choice for podcasters due to its durability and excellent sound quality.
Avoid using a built-in laptop or smartphone microphone as they often pick up a lot of background noise and don’t provide the best audio quality.
Step 2: Invest in a Quality Audio Interface
The purpose of an audio interface is to connect your microphone to your computer for digital recording.
An audio interface converts analog signals from your microphone into digital signals that your computer can process. It also provides better sound quality and more control over your audio.
Choose an interface that fits your needs, whether you’re recording solo or with multiple hosts. Popular options include the Focusrite Scarlett 2i2 for its ease of use and excellent sound quality.
If you’re planning to record multiple guests or hosts, consider an audio interface with multiple inputs like M-Audio M-Track Duo.
Don’t opt for a cheap interface; poor audio conversion can affect the quality of your recording.
Step 3: Select the Right Headphones
Headphones help you monitor your audio in real-time and ensure high-quality playback.
Good headphones allow you to hear every detail of your recording, helping you catch mistakes and adjust audio levels as needed.
Choose closed-back headphones to prevent sound from leaking into the microphone. The Audio-Technica ATH-M50X is a great option for its comfort and sound accuracy.
Using open-back headphones might give a more natural sound but can lead to feedback and noise bleed into the mic.
Avoid using consumer-grade headphones, as they often have boosted bass or treble that can mislead your mixing decisions.
Step 4: Prepare Your Recording Environment
A quiet recording environment minimizes background noise and ensures a clean, clear sound.
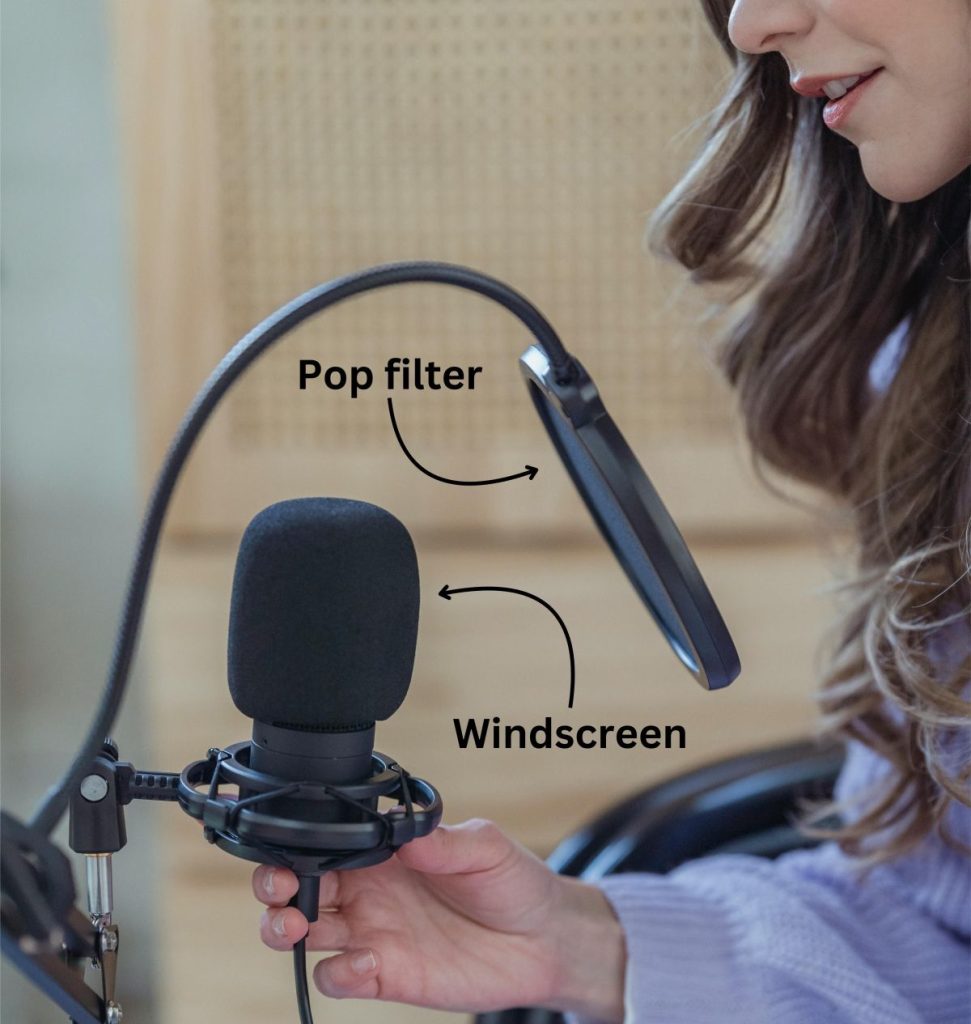
Use a small, quiet room with minimal echo. Consider adding foam panels or thick curtains to absorb sound. A pop filter can also help reduce plosive sounds. When recording outdoors, use a windscreen to reduce wind and ambient noise picked up by the microphone.
Example: Pop filter: Stedman PS101
If you’re recording at home, a walk-in closet filled with clothes can serve as an excellent recording space due to the natural sound dampening.
Recording in a large, empty room can result in a hollow or echoey sound.
Step 5: Plan for Video (If Applicable)
If you plan to include video, choose the right camera and lighting. Good video quality can attract a wider audience. Plus, you can repurpose podcast videos into shorts and teaser posts.
Invest in an HD camera, tripod, and lighting setup. A simple webcam can work for beginners, but a DSLR camera will provide better quality. Don’t let video equipment overwhelm you; start simple and upgrade as needed.
If you’re doing video podcasts, invest in a good webcam. It enhances viewer engagement and allows for content repurposing.
Look for 1080p resolution at 30fps minimum. Consider cameras with built-in noise-canceling mics as backup.
Good options:
Camera: Logitech C920x HD Pro Webcam, Razer Kiyo
Tripod for desk: InnoGear
Light: Kaiess 10.2″, Litra Glow
Step 6: Test Your Setup Before Recording
Make sure you test your setup to ensure everything is working correctly to avoid issues during recording. Testing allows you to catch and fix problems before you start recording, saving you time and frustration.
Record a short test and listen back with your headphones. Check for any issues like low volume, background noise, or distortion.
Perform a quick mic check and playback to ensure your audio interface settings are correct.
Skipping this step can lead to having to re-record entire sections if something goes wrong.
“But Isn’t All This Equipment Too Expensive?”
It’s a common concern that quality podcast equipment costs a fortune. However, investing in the right gear doesn’t mean you have to break the bank. Many affordable options provide excellent quality without a hefty price tag. Remember, your equipment is an investment in your podcast’s success, and you can always start small and upgrade as your podcast grows.
Wrapping Up
Choosing the right podcast equipment is key to making your show sound professional and engaging. When you understand what you need and steer clear of common pitfalls, you can set up a podcast studio that works for both your budget and your goals.
Investing in quality gear now will save you time, money, and headaches down the road. With the basics in place, you’re all set to start recording and creating amazing content for your listeners!